
Most coating failures are not product failures.
Talk to enough applicators and you’ll hear the same story: expensive coating, expensive substrate, failed within a year, and everyone’s pointing at the product. Nine times out of ten, when you dig into what actually happened, the answer isn’t the coating. It’s what the surface looked like before the coating went down.
Surface preparation is the phase that gets talked about the least and cut the most. It’s also the phase that determines everything that comes after. Get it right, and a good coating system will perform for years. Shortcut it, and you’ve already decided how that project ends.
Here’s what that actually means in practice.
What surface preparation actually is
People hear “surface prep” and they think clean. Sweep the floor, run a mop over it, let it dry. And yes, cleaning is part of it. But if that’s where the prep ends, you’ve done about ten percent of the job.
Real surface preparation has several distinct components, and each one affects the coating differently.
Substrate assessment.
Before you pick up a grinder or open a bucket, you need to know what you’re working with. How old is the concrete? Has it been previously sealed, coated, or treated with a curing compound? Are there cracks or soft spots that need addressing before you put anything on top? Is there moisture moving through the slab? What’s the pH? These aren’t checkbox questions. They determine your entire prep protocol. Skip this step and you’re flying blind.
Contamination removal.
This is where most failures actually start. Oil from years of equipment operation, silicone from cleaning products, old wax, adhesive residue, curing compounds from the original pour. You usually can’t see any of it, but it’s there, and it’s sitting between your substrate and your coating like a release agent.
Here’s the quick test: put a few drops of water on the surface. If it soaks in evenly, you’re in reasonable shape. If it beads or sheets off, something is interfering with the surface. That same barrier will prevent your coating from bonding.
Standard mopping doesn’t touch this stuff. Getting rid of subsurface contamination requires the right chemistry, dwell time, mechanical agitation, and usually multiple passes. On a heavily contaminated floor, a single degreaser application is a cosmetic fix, not a solution.
Mechanical preparation.
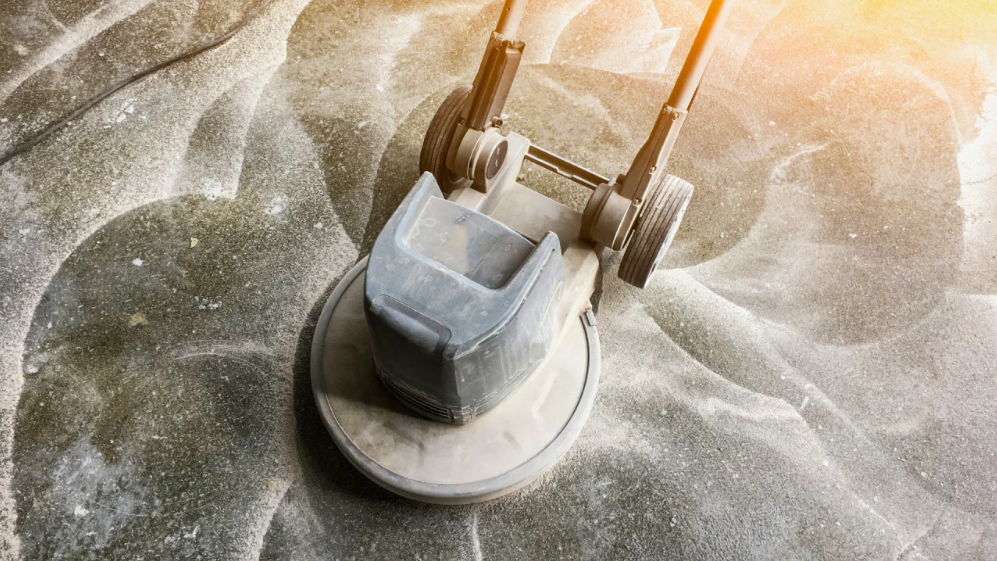
This is what actually creates the surface profile — the texture that gives the coating something to grip. For most commercial and industrial work, that means grinding or shot blasting to the right profile for the system you’re applying.
The profile specification matters more than most people realize. Different coatings need different profiles, measured on the CSP (Concrete Surface Profile) scale from 1 to 9. A thin penetrating sealer might only need a CSP 1 or 2. A broadcast epoxy floor system needs a CSP 3 or 4 at minimum. If you apply a thick-build coating over a surface that’s too smooth, you’ve starved the mechanical bond. The coating will let go, and it won’t be because the product was bad.
For polished concrete specifically, mechanical preparation also means densification before the guard coat goes on. Densifying the slab first fills and hardens those capillary pores and gives the guard the surface it needs to properly bond. Skip the densification, or rush it, and you’ll see premature wear of the guard coat well before the system’s rated life.
Worth being clear on one thing: densification before sealing is specifically required for polished concrete and guard systems. It is not a universal requirement for all coatings. A lot of sealer systems depend on some surface porosity for proper bond. Pre-densifying those surfaces can actually work against adhesion. Always match the prep protocol to the specific system being applied.
Moisture vapor testing.
Concrete breathes. Residual moisture from the original mix, groundwater below the slab, humidity changes — all of it can push moisture vapor up through the concrete and behind your coating. When that happens, you get bubbling, blistering, and eventually full delamination, usually from the inside out.
The test for moisture vapor emission takes time — calcium chloride tests typically run 72 hours. That’s the part that gets cut when a schedule is tight. It’s also one of the most reliable ways to cause a failure that shows up 18 months later and makes your phone ring.
What contractors actually skip, and why
None of the above is controversial. Every experienced applicator knows these steps. The problem is that most of them get skipped, or rushed, on a regular basis.
Degreasing gets underestimated.
A single commercial degreaser pass on a lightly used floor can be enough. On a floor that’s been in a warehouse for 15 years with forklifts running over it every day, it’s nowhere near enough. Thorough degreasing on a contaminated substrate takes time, the right chemistry, mechanical scrubbing, and hot water rinsing. When the floor looks clean at the end, it’s easy to believe you’re done. But oil that’s been worked into porous concrete for years doesn’t come out with one round.
Curing compounds catch people off guard.
New construction is supposed to be clean. And it is, in the sense that there’s no old contamination. But new concrete is routinely treated with curing compounds to control moisture during the initial set. Those compounds are still on the surface when you arrive on the job, and they need to be mechanically removed before anything else goes down. If you assume new concrete is ready to coat, you’ll find out otherwise later.
Profile matching rarely gets checked.
Contractors grab whatever grinder is in the shop and go to work. If it leaves the floor looking prepped, the assumption is that it is prepped. But whether the actual profile matches what the coating system requires is a different question, and it often doesn’t get asked until something fails.
Moisture testing gets bumped.
The 72-hour window doesn’t fit the schedule. It gets skipped. This is understandable. It’s also a significant gamble, particularly on slabs at or below grade, on anything with a history of water intrusion, or on any project where moisture is a known issue.
What it costs when prep goes wrong
A coating failure from bad prep is expensive in ways that go well beyond the cost of the material that failed.
Stripping and re-prep.
You usually can’t recoat over a delaminated surface. You’re grinding it back to bare concrete, decontaminating again, and starting from scratch. On a large floor, that’s several days of work that wasn’t in the original scope or budget.
Downtime.
Strip-and-recoat is not a one-day job. For a working facility, every day the floor is shut down is a direct operational cost. A warehouse aisle, a restaurant kitchen, a manufacturing floor — none of these absorb unplanned closures without financial impact.
Shortened life.
Not every prep failure causes a dramatic delamination. Sometimes the coating just wears faster than it should, loses its finish earlier, and needs recoating sooner. The facility ends up on a shorter maintenance cycle without a clear event that explains why. The recoat cycle that the product was never supposed to have gets normalized.
Lost warranty.
Most coating manufacturers condition their warranties on proper surface preparation per their specification. When a failure gets investigated, preparation is one of the first things examined. If it didn’t meet spec, the warranty doesn’t apply. The cost of the original material doesn’t come back, and neither does the cost of the remediation.
What a proper prep sequence looks like
It varies by substrate and system, but for most concrete coating projects, this is the sequence:
1. Substrate inspection. Understand what you’re working with before you start.
2. Contamination testing. The water drop test is a start. If there’s any doubt, test more rigorously.
3. Degreasing and contamination removal. Match the chemistry and method to the level of contamination.
4. Mechanical preparation to the correct profile for the system.
5. Moisture vapor emission testing. Do it early enough that the results don’t hold up the job.
6. Densification, for polished concrete guard systems. Confirm proper densification before guard coat application.
Document each step. Before and after photos, test results, lot numbers, application conditions. It protects you, it protects the client, and it’s the record you’ll need if anything ever gets questioned.
Good prep takes time. It costs more upfront. And it’s the reason some coating installations are still performing fifteen years later while others needed to be stripped and redone before the first anniversary.
The coating protects the surface. The prep protects the coating.
Contact Coval’s technical team if you’re working through a prep protocol or specifying a system for a difficult substrate. We work through these questions regularly.